
一、使用CRXjs、Vite、Vue 开发 Chrome 多页面插件,手动配置 vite.config.ts 和 manifest.json 文件
一、创建 Vue 项目
1. 使用 Vite 创建 Vue 项目
npm create vite@latest # npm yarn create vite # yarn pnpm create vite # pnpm
选择 Vue 和 TS

进入项目,并进行 pnpm i 安装 node_modules
pnpm i # 安装包
2. 安装 CRXJS Vite 插件
pnpm i @crxjs/vite-plugin@beta -D # 安装 CRXJS Vite 插件
3. 创建 Manifest.json 文件
{ "manifest_version": 3, "name": "CRXJS Vue Vite Example", "version": "1.0.0", "action": { "default_popup": "index.html" } }
4. 修改 Vite.config.ts 配置文件
import { defineConfig } from 'vite' import vue from '@vitejs/plugin-vue' import { crx } from '@crxjs/vite-plugin' import manifest from './manifest.json' assert { type: 'json' } // Node >=17 // https://vitejs.dev/config/ export default defineConfig({ plugins: [ vue(), crx({ manifest }), ], })
5. 运行 pnpm run dev 命令
可以看到多了个 dist 文件夹,这个就是构建好的插件安装包
. ├── README.md ├── dist │ ├── assets │ │ └── loading-page-1924caaa.js │ ├── index.html │ ├── manifest.json │ ├── service-worker-loader.js │ └── vite.svg ├── index.html ├── manifest.json ├── package.json ├── pnpm-lock.yaml ├── public │ └── vite.svg ├── src │ ├── App.vue │ ├── assets │ │ └── vue.svg │ ├── components │ │ └── HelloWorld.vue │ ├── main.ts │ ├── style.css │ └── vite-env.d.ts ├── tsconfig.json ├── tsconfig.node.json └── vite.config.ts
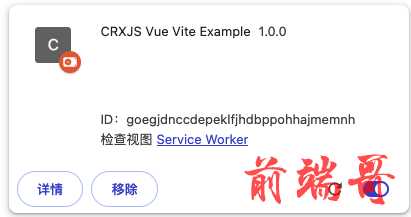
6. 安装插件
打开浏览器输入:chrome://extensions,点击【加载已解压的扩展程序】选择 dist 文件夹进行安装
插件页面
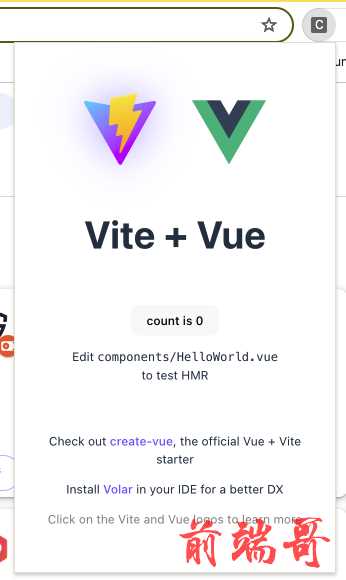
popup action 页面
二、配置项目
1. Chrome TS 配置
1.1. 安装 chrome-types 模块
pnpm i chrome-types -D
1.2. 在 src/vite-env.d.ts 中增加以下配置
/// <reference types="chrome-types/index" />
2. 配置 content 脚本文件和 content 页面
1. 在 src 下新建 content 文件夹和 contentPage 文件夹
content文件夹是放脚本文件的contentPage文件夹是放Vue文件的
2. 在 content 文件夹中新建 content.ts 文件
content.ts 文件中写入一行日志
console.log('this is content ts file')
src/content └── content.ts
3. 在 contentPage 文件夹中写入 Vue 项目文件
1. 页面说明:
Vue 文件最终打包生成一个 html 文件,然后通过 iframe 嵌入对应的网页中
2. 项目结构
src/contentPage ├── App.vue ├── components │ └── testCom.vue ├── index.html ├── index.ts ├── main.ts └── style.css
App.vue:Vue项目主文件components:组件文件夹index.html:页面入口,注意引入main.ts的路径index.ts:脚本文件main.ts:入口文件style.css:样式文件
3. index.ts 文件内容
创建一个 iframe,并设置 src 为当前插件的 contentPage 页面,最终插入当前网页的 body 中
/** * 初始化 iframe 数据 */ const init = () => { /** * 添加 iframe * @param {string} id iframe id * @param {string} pagePath iframe 路径 */ const addIframe = (id: string, pagePath: string) => { const contentIframe = document.createElement('iframe') contentIframe.id = id contentIframe.style.cssText = 'width: 100%; height: 100%; position: fixed; top: 0px; right: 0px; z-index: 10000004; border: none; box-shadow: 0px 6px 16px -8px rgba(0,0,0,0.15); background-color: rgba(0, 0, 0, 0.01)' const getContentPage = chrome.runtime.getURL(pagePath) contentIframe.src = getContentPage document.body.appendChild(contentIframe) } addIframe('content-iframe', 'contentPage/index.html') } // 判断 window.top 和 self 是否相等,如果不相等,则不注入 iframe if (window.top == window.self) { init() }
到这一步,content 页面和脚本文件就都配置完成了,那还需要配置 vite.config.ts 文件和 manifest.json 文件,这个先等下,我们把 popup 页面也改好在一起配置
3. 配置 popup 页面
1. 在 src 中新建 popup 文件夹
- 新建之后,把
components文件夹、App.vue、index.html、mani.ts、style.css文件放到popup文件夹中 - 把
public文件夹中的vite.svg放入assets文件夹中
1. popup 文件夹树结构
src/popup ├── App.vue ├── components │ └── HelloWorld.vue ├── index.html ├── main.ts └── style.css
2. 项目文件夹树结构
. ├── README.md ├── dist │ ├── assets │ │ └── loading-page-1924caaa.js │ ├── index.html │ ├── manifest.json │ ├── service-worker-loader.js │ └── vite.svg ├── manifest.json ├── package.json ├── pnpm-lock.yaml ├── public ├── src │ ├── assets │ │ ├── vite.svg │ │ └── vue.svg │ ├── content │ │ └── content.ts │ ├── contentPage │ │ ├── App.vue │ │ ├── components │ │ │ └── testCom.vue │ │ ├── index.html │ │ ├── index.ts │ │ ├── main.ts │ │ └── style.css │ ├── popup │ │ ├── App.vue │ │ ├── components │ │ │ └── HelloWorld.vue │ │ ├── index.html │ │ ├── main.ts │ │ └── style.css │ └── vite-env.d.ts ├── tsconfig.json ├── tsconfig.node.json └── vite.config.ts
2. 修改 index.html 文件,修改 main.ts 的引入
因为文件路径变了,所以引入也需要改
<script type="module" src="./main.ts"></script>
3. 修改 App.vue 文件
因为文件路径变了,所以引入也需要改变
<template> <div> <a href="https://vitejs.dev" target="_blank"> <img src="../assets/vite.svg" class="logo" alt="Vite logo" /> </a> <a href="https://vuejs.org/" target="_blank"> <img src="../assets/vue.svg" class="logo vue" alt="Vue logo" /> </a> </div> <HelloWorld msg="Vite + Vue" /> </template>
4. 配置 background
1. 在 src 中新建 background 文件夹以及 service-worker.ts 文件
1. 输入日志
console.log('this is background service-worker.ts file')
2. 树结构
src/background └── service-worker.ts
5. 配置 vite.config.ts 文件
1. 安装 @types/node 依赖
pnpm i @types/node -D
2. vite.config.ts 文件内容
import { defineConfig } from 'vite' import vue from '@vitejs/plugin-vue' import { crx } from '@crxjs/vite-plugin' import manifest from './manifest.json' assert { type: 'json' } // Node >=17 import path from 'path' // https://vitejs.dev/config/ export default defineConfig({ root: 'src/', plugins: [ vue(), crx({ manifest }), ], build: { outDir: path.resolve(__dirname, 'dist'), rollupOptions: { input: { contentPage: path.resolve(__dirname, 'src/contentPage/index.html'), popup: path.resolve(__dirname, 'src/popup/index.html') }, output: { assetFileNames: 'assets/[name]-[hash].[ext]', // 静态资源 chunkFileNames: 'js/[name]-[hash].js', // 代码分割中产生的 chunk entryFileNames: 'js/[name]-[hash].js' } } } })
- 因为有
popup页面和contentPage页面,所以这个属于多页面 - 多页面配置先配置
root - 在
build时,通过input配置输出文件
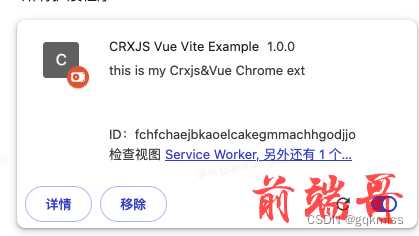
6. 配置 manifest.json 文件
{ "manifest_version": 3, "name": "CRXJS Vue Vite Example", "description": "this is my Crxjs&Vue Chrome ext", "version": "1.0.0", "action": { "default_popup": "popup/index.html" }, "background": { "service_worker": "/background/service-worker.ts" }, "content_scripts": [ { "js": [ "/content/content.ts", "/contentPage/index.ts" ], "matches": [ "http://127.0.0.1:5500/*" ], "all_frames": true, "run_at": "document_end", "match_about_blank": true } ], "web_accessible_resources": [ { "resources": ["contentPage/index.html", "assets/*", "js/*"], "matches": ["http://127.0.0.1:5500/*"], "use_dynamic_url": true } ] }
- 因为我们在
vite.config.ts中配置root为src/,所以在配置路径的时候都需要注意下 - 配置
action中的default_popup为popup/index.html - 配置
background - 配置
content_scripts
a. js 为content中的ts和contentPage中的ts
b.matches为匹配模式
c.all_frames可以穿透iframe - 配置
web_accessible_resources
三、构建和安装插件
1. 删除 dist 文件夹
rm -rf dist
2. 运行项目
pnpm run dev
1. 此时 dist 文件夹内容
dist ├── assets │ ├── loading-page-1924caaa.js │ ├── vite.svg │ └── vue.svg ├── content │ ├── content.ts-loader.js │ └── content.ts.js ├── contentPage │ ├── index.html │ ├── index.ts-loader.js │ └── index.ts.js ├── manifest.json ├── popup │ └── index.html ├── service-worker-loader.js └── vendor ├── crx-client-port.js ├── vite-client.js ├── vite-dist-client-env.mjs.js └── webcomponents-custom-elements.js
3. 安装插件
4. 运行
1. 打开 content_scripts 中 matches 配置的网页
- 内嵌
iframe页面已经加载
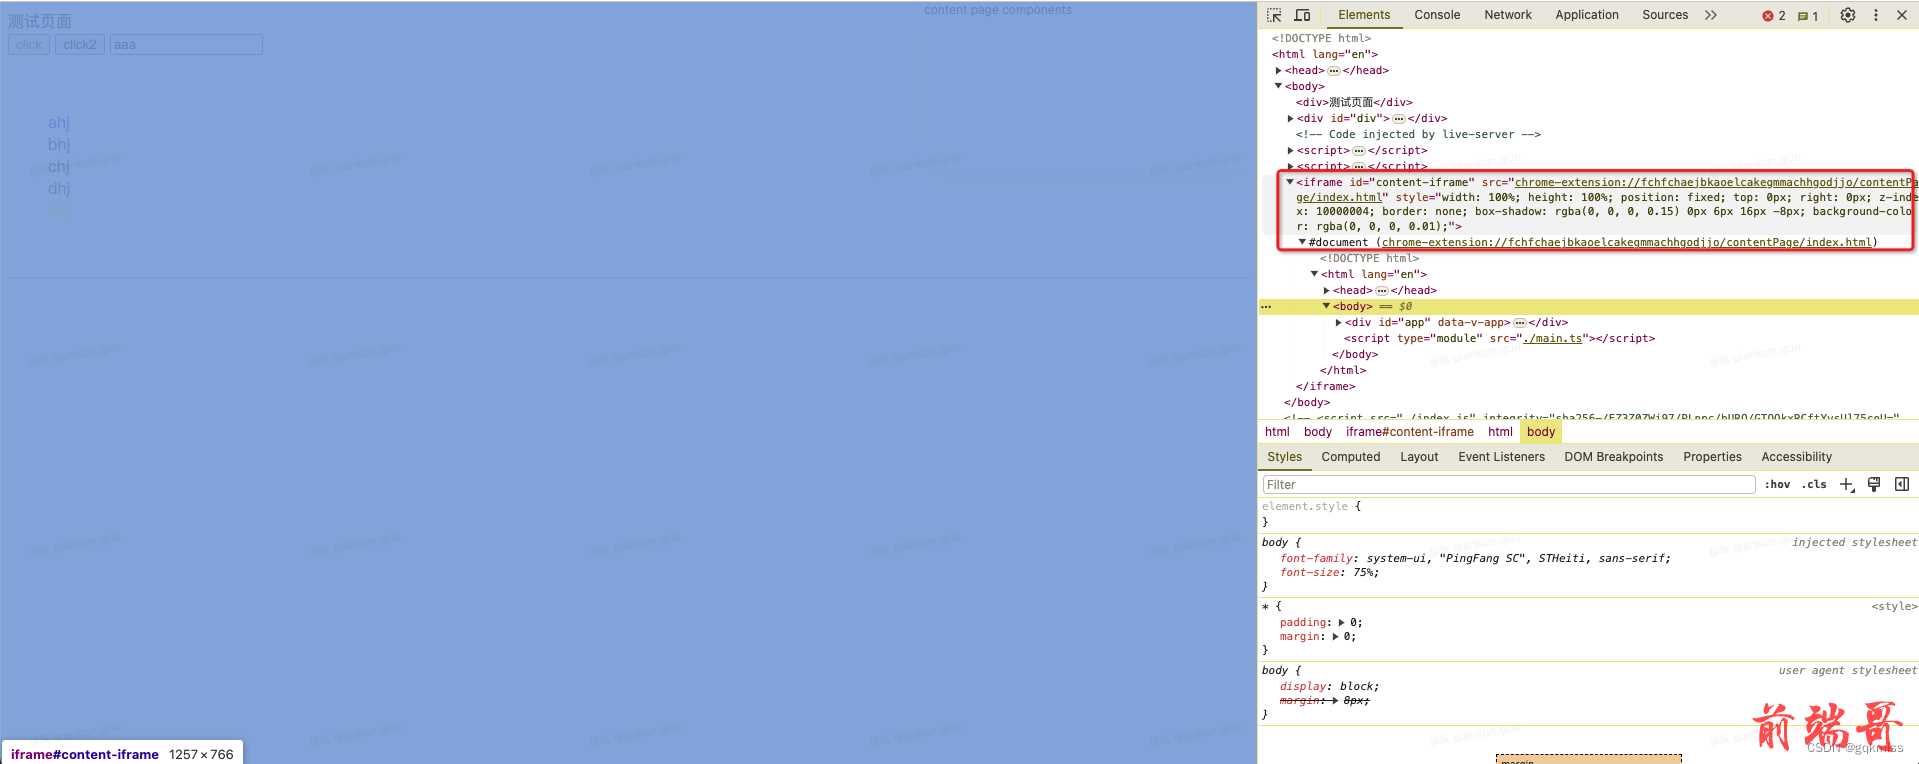
contentPage页面已经加载
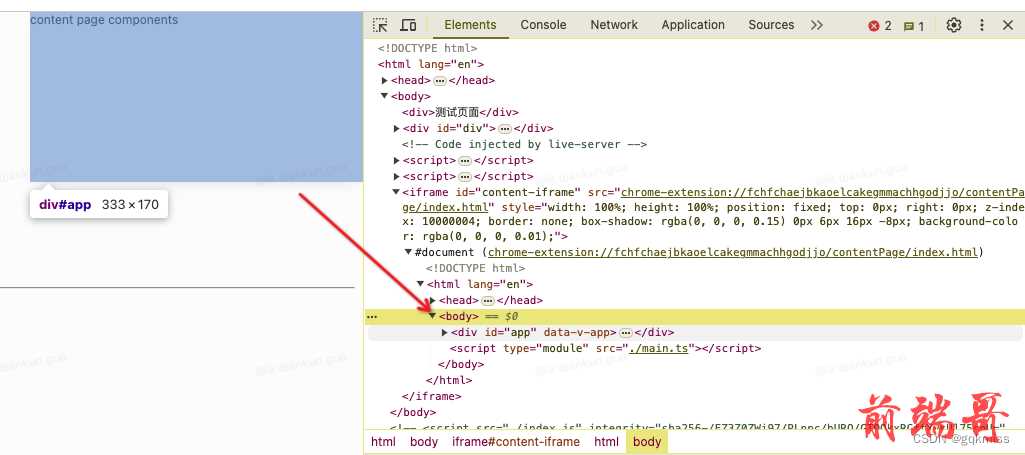
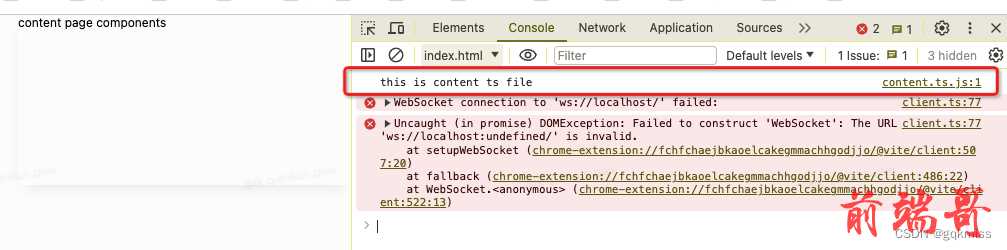
content.ts的日志已经输出
下面报错可以不管,那是 crxjs 的问题
2. popup 页面

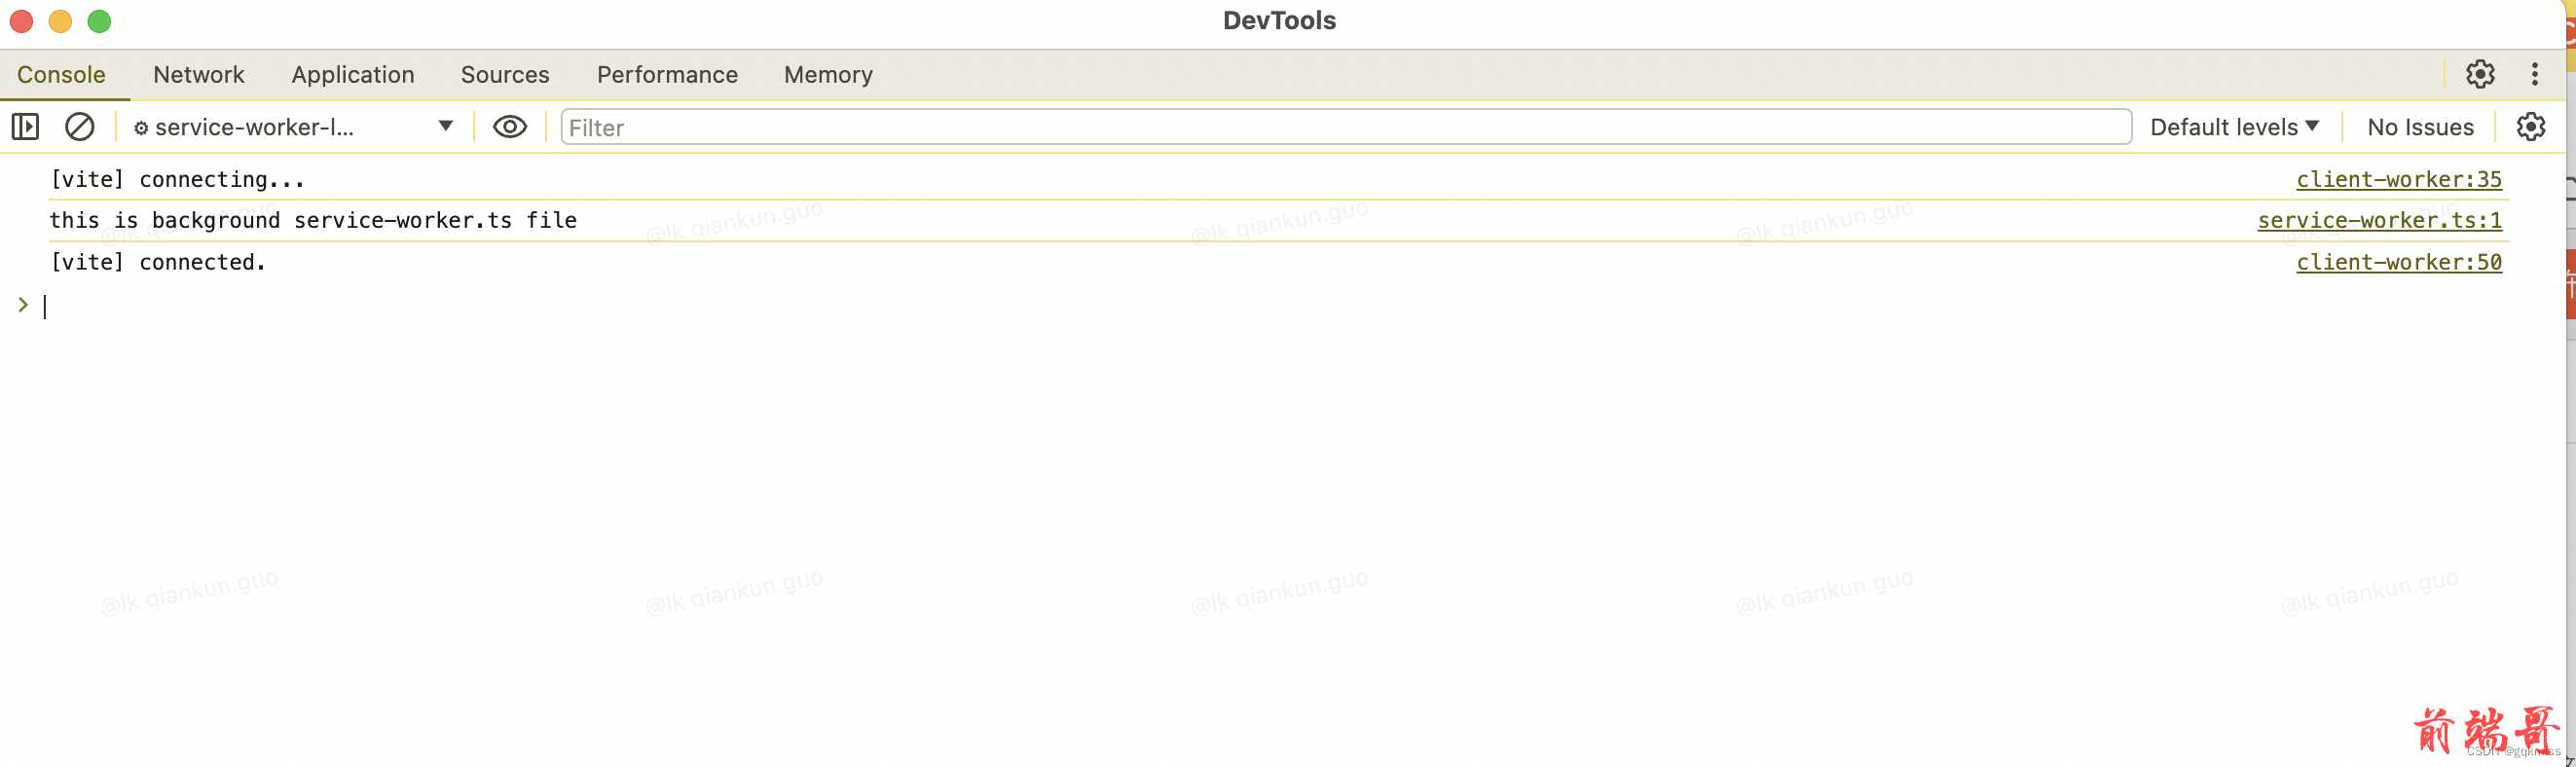
3. service-worker 日志输出
【使用 CRXJS、Vite、TypeScript、Vue3、Pinia、Less、Naive-ui 开发 Chrome 浏览器插件】
【使用 Vue3、Vite、TypeScript、Less、Pinia、Naive-ui 开发 Chrome 浏览器 Manifest V3 版本插件】
源码
【crxjs_vue3_vite_chrome】
更多 Chrome 插件开发文章请看
【Chrome 浏览器插件开发实践指南】
已整理成一本小册,目前发布于 https://18055975947.github.io/extension/ github 上,包含了最近几个月发布的十来篇文章

